

You've got a bare wall above the sofa, a phone full of saved photos, and three tabs open for pine, oak, and reclaimed barn wood. They all look right in the photos. None of them tells you how heavy the finished panel is, whether your drywall can hold it, or what happens after the first winter with the heat running.
Treat decorative wooden wall art as a moving, loaded object first and a decoration second. Wood takes on and gives off moisture, panels have real weight, and walls have limits. If you check the wood, the finish, the weight, and the fixing before you buy, the styling part gets much easier.
This is a large category, not a small craft niche. The global wall art market was valued at approximately USD 66.89 billion in 2025, with forecasts estimating growth to USD 145.49 billion by 2034, according to Fortune Business Insights wall art market estimates. That size means you'll see a wide range in materials, construction, and claims, so you need a way to sort solid information from sales language.
Table of Contents
- Choosing Wood, Finish and Verified Sources
- Matching Wall Size and Layout to Your Room
- Personalized Wood Art With Names, Dates and Monograms
- Hardware, Wall Type and Hanging Steps
- Caring for Wood Through Humidity, Sun and Seasons
- Pairing Wood Art With Other Farmhouse Accents
- Confirm Your Wall, Weight and Wood Before You Buy
Choosing Wood, Finish and Verified Sources
A wide oak board can add noticeable weight and move as room moisture changes. Choose the wood and finish with both its appearance and its behavior on the wall in mind. Painted lettering can work well on a smooth, even surface; a stained relief panel needs grain that suits the design.
Wood is a major material in the wall décor market, although research firms report different market totals and material shares. Data Bridge Market Research valued the global wall décor market at USD 4.61 billion in 2024 and estimated wood's share at 41.6% by material, in its global wall décor market figures. Market.us estimated the 2024 market at USD 64.7 billion, with wood at 34.3% by material, in its global wall décor estimates. The difference reflects how each firm defines the category. Both estimates place wood among the market's main materials.
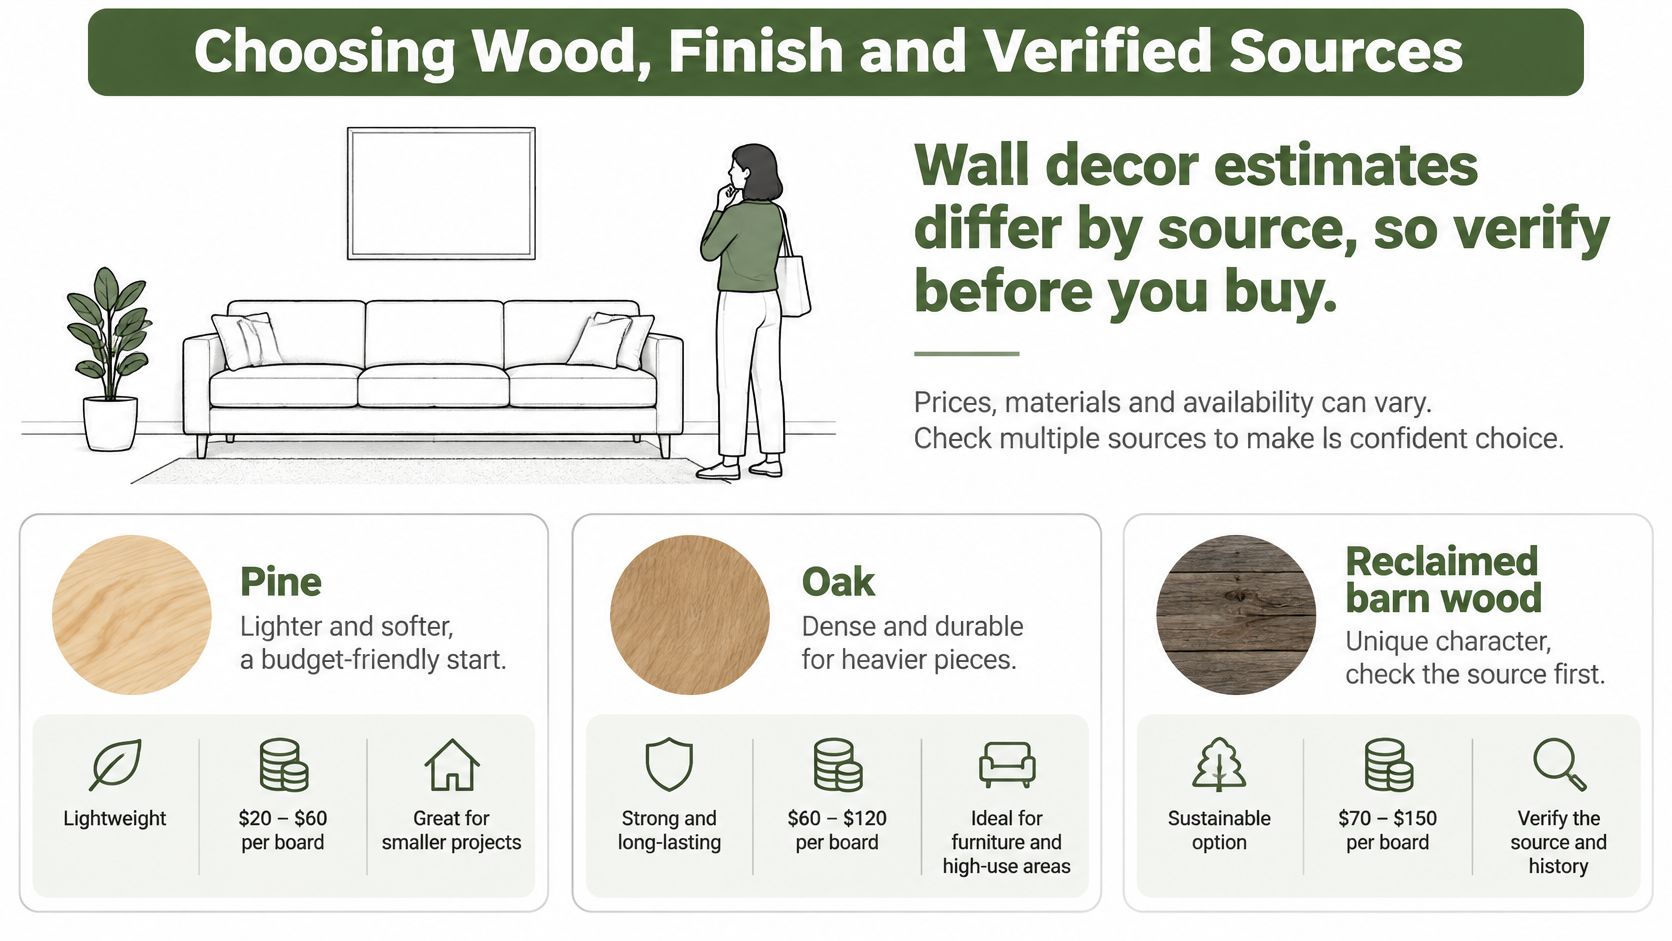
Wood Types for Farmhouse Wall Art
| Wood | Look and grain | Best for | Trade-off |
|---|---|---|---|
| Pine | Light, warm yellow tone with visible knots | Budget signs and painted or stained farmhouse designs | Soft and dents easily; knots can bleed resin through paint |
| Poplar | Smooth, even grain that takes paint well | Painted lettering and colour-block panels | Plain look when stained; less rustic character |
| Oak | Strong grain in honey to grey tones | Heavier panels, bold relief and stained finishes | Heavier and costlier; wide boards move more with humidity |
| Walnut | Dark, rich colour with fine grain | Accent pieces in darker or moodier rooms | Premium price and a less rustic feel |
| Reclaimed barn wood | Weathered grey, saw marks and nail holes | Authentic rustic statement walls | Needs de-nailing and cleaning; thickness varies and pest checks matter |
| Plywood or MDF with wood veneer | Flat, uniform surface with a wood-look face | Large or multi-panel pieces on a budget | Edges can show layers; thin boards cannot take deep relief |
Pine and poplar are practical first choices for painted designs. Oak and walnut show off grain, but their weight makes the finished panel and its hanging hardware worth checking before purchase. Reclaimed boards offer genuine wear marks, with more variation in thickness. Ask the seller how the boards were cleaned and checked for pests.
Finishes and What They Hide or Show
- Opaque paint: Covers grain and colour variation. It suits pine, poplar, and lettering that needs crisp edges.
- Stain: Shows grain while deepening or warming the colour. It works well on oak and reclaimed boards.
- Clear oil or polyurethane: Protects the surface while leaving the wood visible. Oil gives a lower sheen.
- Wax or limewash: Gives a soft, weathered appearance. Wax needs renewal, and limewash can mute detail.
Coat the back and edges as well as the front. If one face takes in or releases moisture faster, the board can cup as it responds unevenly. Ask the maker which finish is applied to the back before ordering.
Verify the Claim, Not the Label
Buying check: Rustic and natural describe a look. Species, origin, certification, and finish are what you can verify.
Ask for the species and whether the wood is reclaimed, recycled, plantation-grown, or newly cut. Get the names of the adhesive, stain, paint, and topcoat, and ask whether the topcoat is low-VOC. For a claimed FSC or PEFC certification, ask whether it covers the specific item and check the certificate number rather than relying on a logo.
A market report estimates that 67% of global consumers consider sustainability when selecting home décor, according to Dataintelo's decorative accessories market research. Ask for verifiable details on the wood's origin, certification, finish, packaging, and disposal guidance. A seller who can answer those questions gives you a clearer basis for judging the product and its claims.
Matching Wall Size and Layout to Your Room
Size the piece against the furniture beneath it, not against the whole room. As a working rule, aim for about half to three-quarters of the furniture width. Much smaller and the panel floats in empty wall. Much wider and it crowds the piece below it.
Hang height follows the same logic. For a wall with no furniture, put the center of the piece at about 57 to 60 inches from the floor. Above furniture, leave roughly 6 to 10 inches between the furniture top and the bottom edge, so the two read as one grouping instead of separate objects.
Suggested Piece Width and Hang Height by Space
| Space | Wall width | Suggested piece width | Hang height |
|---|---|---|---|
| Sofa wall, three-seat sofa | About 96 to 120 in | 42 to 63 in | 6 to 10 in above sofa back |
| Console or sideboard | About 72 to 96 in | 30 to 48 in | 6 to 10 in above furniture top |
| Queen bed headboard wall | About 96 to 120 in | 30 to 45 in | 8 to 12 in above headboard |
| Dining buffet | About 84 to 108 in | 30 to 45 in | 6 to 10 in above buffet |
| Narrow entryway or hall | About 36 to 54 in | 18 to 30 in | Center at 57 to 60 in from floor |
| Gallery grouping | About 96 to 144 in | Group fills 70 to 80 percent of wall width | Center of group at 57 to 60 in from floor |
For a gallery grouping, keep 2 to 3 inches between pieces and judge the group as one rectangle. If the outer edges don't form a clear shape, the wall will look scattered no matter how good each piece is. Wider horizontal arrangements need the same overall discipline, as shown in this guide to horizontal farmhouse wall decor layouts.
Edge Cases That Change the Choice
A tall, narrow hallway usually works better with a vertical piece than a wide panel squeezed between door frames. Deep relief needs extra thought, because it projects into the room. Keep it clear of door swings, light switches, and the path people regularly walk.
Before you drill, tape the outline on the wall at actual size with painter's tape. Live with it for a day. You'll spot a switch, a glare problem, or a too-small scale much faster on the wall than on a product page.
Personalized Wood Art With Names, Dates and Monograms
Family name signs over entry doors and wedding dates beneath surnames are clear, readable layouts. A monogram above a fireplace or a name placed across a farm scene can also work, provided the lettering stays legible at the room's normal viewing distance.
Wood and metal produce different results. On wood, text is commonly painted, stained, or routed, so grain and finish affect its appearance. Metal offers a different surface and edge. Check the material before ordering, since a rustic setting in a product photo does not confirm that the sign is wood.
Set the Text Before You Set the Design
Count the characters before choosing a font size or layout. A long name squeezed into a narrow banner can be difficult to read across a room. Keep the main line concise, then decide whether to use one centered line or a stacked layout. For format ideas, see this guidance on personalized wall art with names.
- Readability: Check that the surname is clear from the usual viewing distance, not just in a close-up image.
- Date format: Choose a full date, month and year, or year only before approving the design.
- Punctuation: Ask which marks the maker can produce, especially if the text will be cut into the material.
The Personalized Classic Tractor Metal Sign is a personalized metal sign featuring a family name and established date. It is one example of how a name and date can be incorporated into a themed design.
The Proof Is the Safeguard
Read the preview as if it were already cut. Once production starts, a spelling error is permanent.
Ask the seller for a preview showing the exact text intended for production. Check spelling, date format, and punctuation line by line before approving it. Some designs may not support hyphens or dashes; use periods or slashes instead if the seller recommends them.
A proof checks the lettering, not the physical fit. Before ordering, compare the finished piece's dimensions with the intended wall space and consider its weight, since the design will be a loaded object once hung. Confirm the production lead time with the seller if the piece is a gift for a fixed date.
Hardware, Wall Type and Hanging Steps
Choose hardware from the panel's finished weight, not its visual size. A thin wide panel can weigh less than a small thick one. The working rule is to pick hardware rated at at least twice the artwork's static weight, then fasten the wall side into a structural stud whenever possible, as set out in Engineer Fix guidance on hanging wood panel art securely.
Two D-rings spread the load better than a single sawtooth hanger on a medium panel, because the weight isn't hanging from one small point. A French cleat suits large or heavy pieces because its interlocking bevels spread load across a wider horizontal area and resist rotation. On drywall with no stud, a toggle anchor spreads force behind the board, while a small screw in gypsum alone holds only in the board face.
Hardware and Fastening by Panel Weight and Wall Type
| Panel weight | Wall type | Hardware | Fastening |
|---|---|---|---|
| Under 5 lb | Drywall, no stud | Sawtooth hanger or single picture hook | Hook rated at least 2 times the weight |
| 5 to 15 lb | Drywall, no stud | Two D-rings and wire | Toggle anchor rated at least 2 times the weight |
| 15 to 40 lb | Stud available | Two D-rings and wire, or French cleat | Fasten into stud, rated at least 2 times the weight |
| 15 to 40 lb | Drywall, no stud | French cleat | Toggle anchors rated at least 2 times the weight |
| Over 40 lb or multi-panel | Any | Engineered cleat system | Professional installer; confirm structural support |
Renters should treat removable hooks as a light-piece option only. Check the rated load, check your lease, and don't use them above a bed or sofa where a failure lands on people. If the listing doesn't publish finished weight, panel thickness, and hardware type, ask before ordering.
Hanging Steps in Order
- Tape the template: Put a paper outline at actual size on the wall and confirm the hang height.
- Find studs: Mark them with tape, because the ideal picture position and the stud rarely match by luck.
- Check the rating: Confirm the hardware is rated at least twice the finished weight.
- Mark fixing points: Place D-rings one-quarter to one-third of the panel height below the top edge to control tilt and reduce wire slack.
- Pre-drill pilots: This matters most in pine and reclaimed boards, where a screw can split dry or brittle wood.
- Lift with help: Use two people for panels over about 20 lb or wider than 30 in, since awkward size causes drops.
- Level it: Hang the panel, check it with a bubble level, and adjust the wire or cleat until it sits flush.
- Test gently: Press the top edge lightly, confirm there's no movement, and check that the wire has little slack.
The common failure is simple. Someone skips the stud, trusts a screw in gypsum, and the panel holds until a door slams or the board crumbles around the threads. Avoid that shortcut.
For a piece over about 40 lb, or a multi-panel installation that must stay aligned, hire a professional installer and confirm the wall structure first. After 48 hours, a secure installation should still sit flush, level, and silent when you tap the frame lightly, with no new tilt or gap at the bottom edge.
Caring for Wood Through Humidity, Sun and Seasons
A finish slows moisture exchange, but it does not stabilize solid wood. Boards still shrink and swell as indoor humidity changes, with the greatest movement across the grain. That movement can cause cupping, gaps at joints, hairline checks, paint failure, or a frame that no longer sits flat.
Many North American woods reach the fiber saturation point at approximately 28 to 30% moisture content. Shrinkage begins as moisture falls below that threshold. Purdue Extension wood moisture and finishing guidance also notes that moisture-related finishing problems are minimized at roughly 9 to 14% wood moisture content, while painting wood above 20% raises the risk of blistering and peeling. You do not need to meter your panel every month. These figures show why a piece finished while too wet, or hung in a damp room, can fail early.
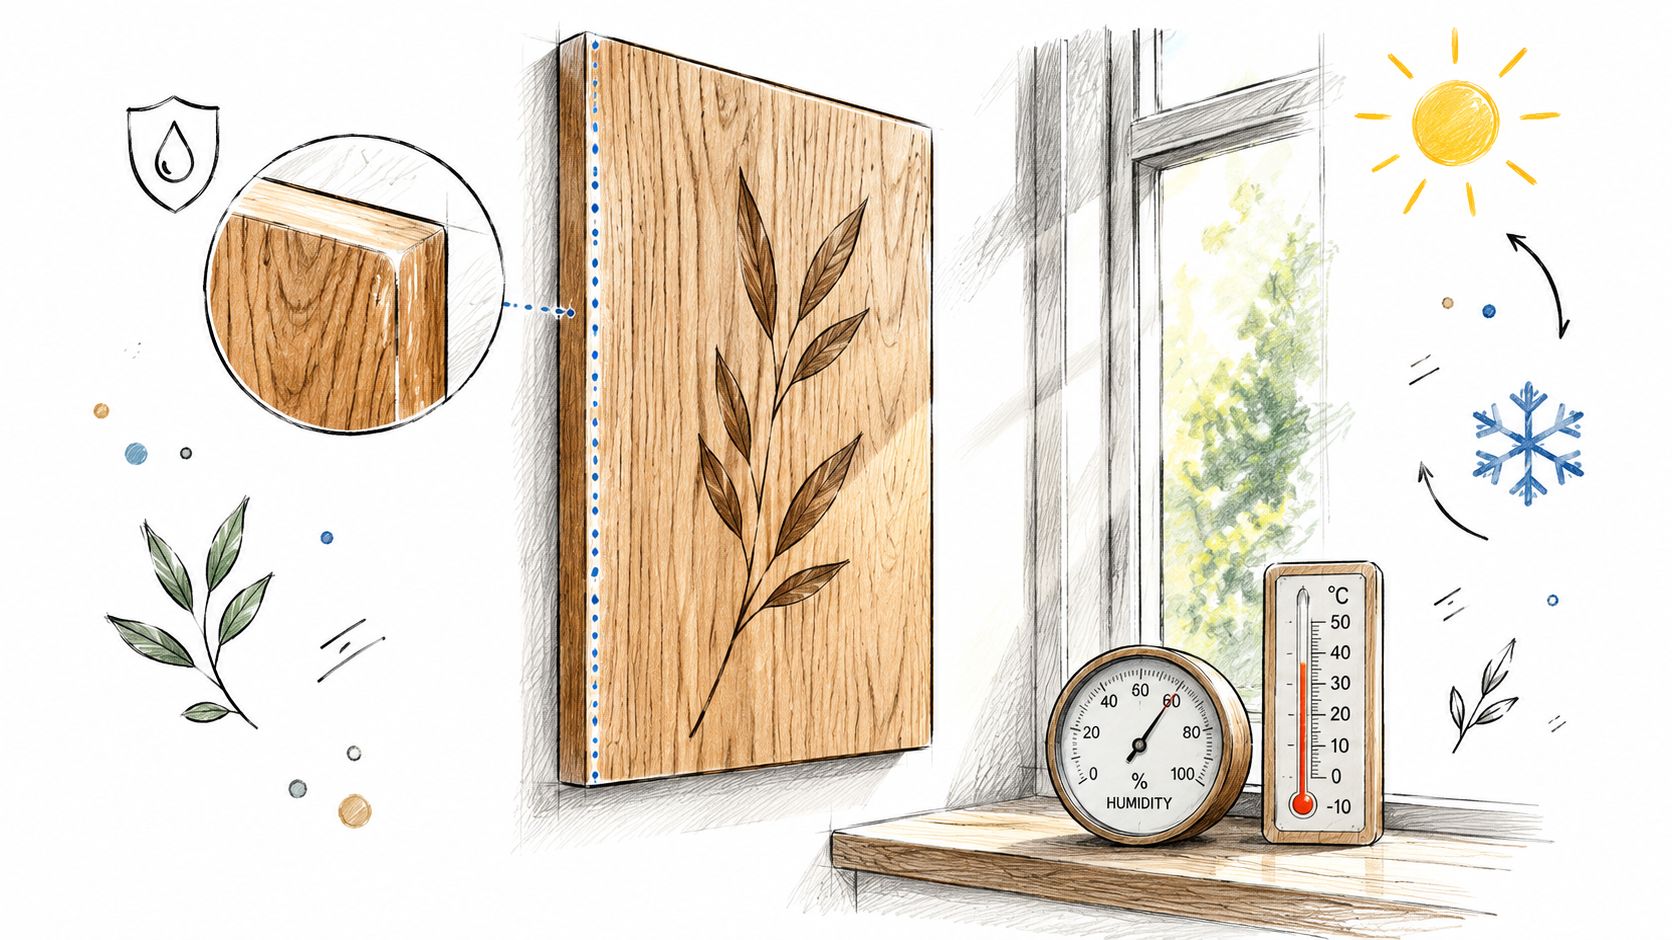
Room Conditions That Matter Most
As a general rule of thumb, aim to keep indoor relative humidity between 30 and 50 percent where practical. Avoid placing solid-wood art where it gets frequent bursts of hot or damp air, and keep it out of bathroom steam unless it was built and sealed for that exposure. Steady conditions are easier on wood than repeated swings, even if the room is slightly dry or humid.
Direct sun also affects the piece. It can dry the face unevenly, fade stain or paint, and speed up wood movement. A strong west- or south-facing wall is a poor location for a dark-stained panel. If that is your only option, choose a lighter finish and expect its colour to shift over time.
Routine Care and Warning Signs
Dust with a dry microfiber cloth. Skip wet cloths and sprays, which can leave moisture in routed letters and joints. About once a year, inspect the finish in good light and renew oil or wax where it looks dry or dull.
Look for a hairline crack opening along the grain, an edge lifting from the wall, or a joint beginning to gap. Do not tighten the hardware to force a warped panel flat. Loosen the fixing, let the piece adjust to the room for a few days, then rehang it with room for the boards to move.
Wood that can't move will move anyway. It'll split, cup, or pull at its joints instead.
Backing cleats should support the panel without locking every board rigidly against the wall. Ask how the back is built if the seller cannot explain it, especially for a wide solid-wood piece. Its weight and construction both affect how it hangs and how the wood responds to changing conditions.
Pairing Wood Art With Other Farmhouse Accents
Pick one tone family and give each wall one clear focal point. If the wood panel, two signs, a wreath, and a shelf all compete, none of them reads well. The panel should lead, and everything else should support its colour or texture.
Matching frames follow the same rule, and advice on farmhouse picture frames is useful when you're mixing framed prints with a solid wood panel. Keep frame tones either clearly matching or clearly contrasting. Almost matching is what looks accidental.
Pairings That Work on Real Walls
- Wood with black metal: A warm oak or pine panel reads well beside black iron or galvanized metal, because the dark line sharpens the soft grain.
- Grey barn wood with pewter: Weathered grey boards suit pewter and brushed silver better than bright chrome, which looks too polished beside them.
- Warm wood with brass or copper light: A brass or copper lantern, or an Edison-bulb fixture, adds warmth that picks up honey tones in the wood.
- Textiles in the same family: Linen and cotton cushions, a buffalo check throw, and a rustic accent rug repeat the grain colour without adding another hard object to the wall.
- Small natural accents: Candle holders, a planter, or a simple garland in the same tone family finish a console grouping without crowding the panel.
Two rules keep groupings tidy. Use an odd number of accents in a shelf or console grouping, because odd counts settle more easily than pairs that demand perfect symmetry. Avoid more than one heavily distressed item on the same wall, since competing wear patterns look staged rather than collected.
On a sofa wall, a 48 in oak panel with a pair of brass sconces, linen cushions below, and one trailing plant on a side table is enough. The wood is the focal point, the metal repeats once, and the textiles carry the colour down to the seat.
Confirm Your Wall, Weight and Wood Before You Buy
A wooden panel is a moving, loaded object. The wood can shift with humidity, and the finished piece puts a steady load on its mounting points. Check the wall before you choose the design, then confirm the details that determine whether the piece will fit and stay secure.
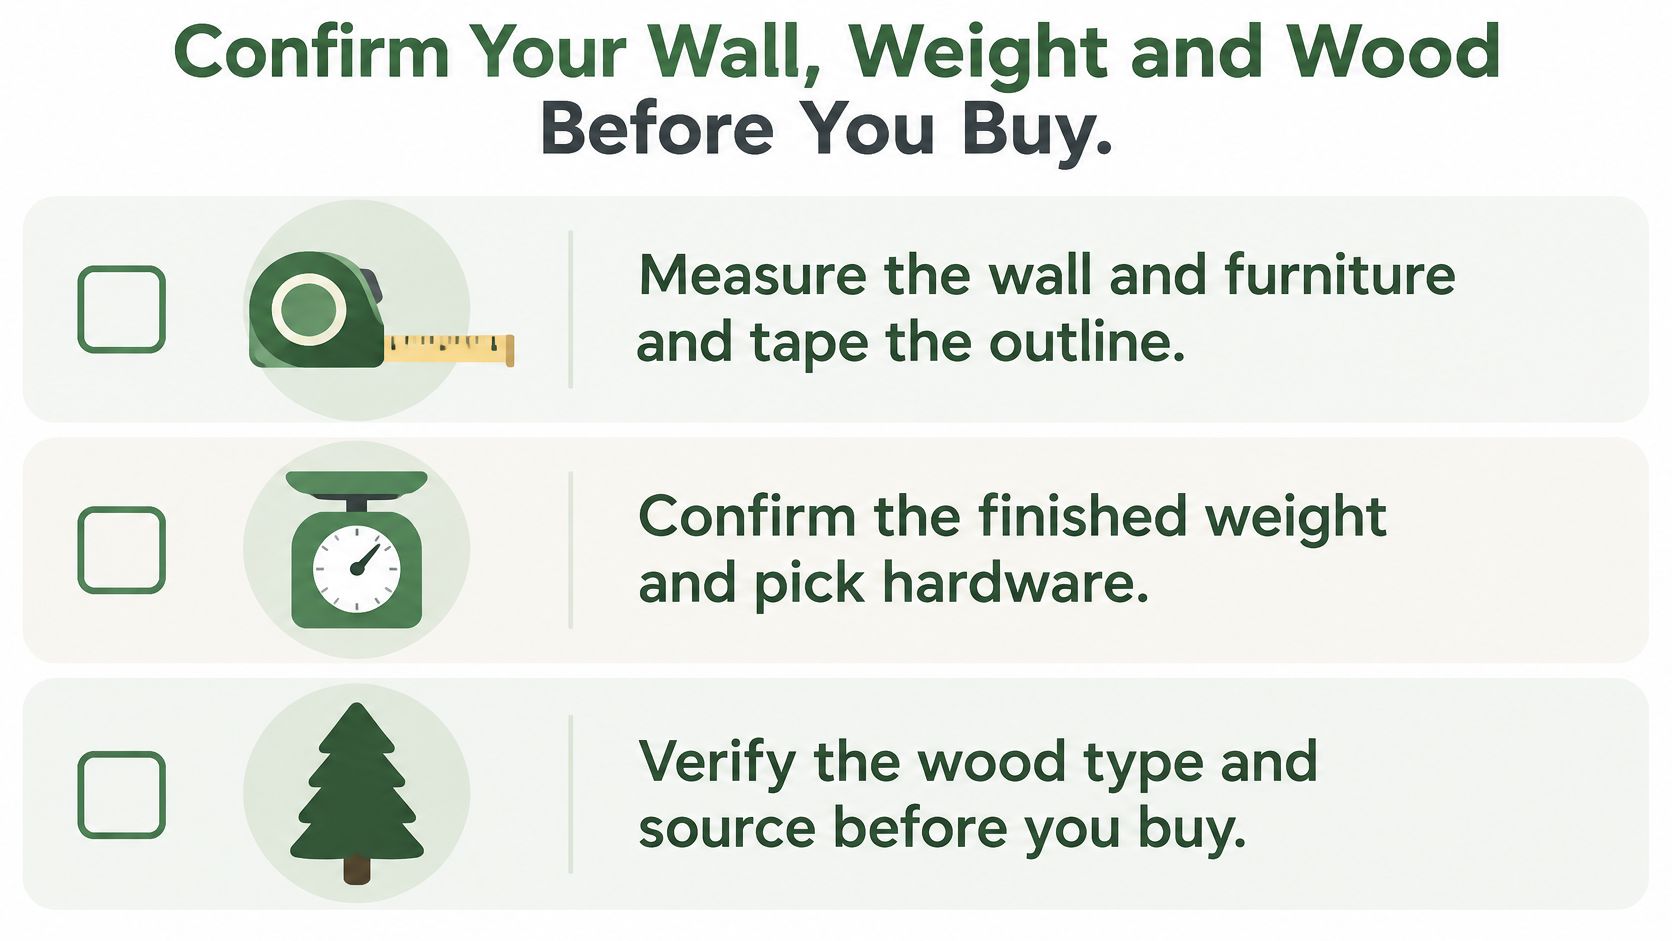
Your Pre-Buy Checklist
Use this order to catch problems before production or delivery:
- Wall and mounting: Identify the wall material and where the mounting points can go. Use the wall-type and hanging guidance in the hardware section to confirm a suitable fixing method.
- Finished weight: Ask the seller for the finished weight and panel thickness. Make sure your chosen mounting setup is appropriate for that load.
- Wood and sourcing: Confirm the species, whether the wood is new or reclaimed, and what finish is applied. For an FSC or PEFC claim, ask for the certificate number and check that it matches the product or supplier.
- Room conditions: Consider whether humidity or seasonal changes could affect the wood. If the room conditions are likely to be a poor fit for solid wood, ask the seller about a more suitable construction.
- Personalized details: Confirm the spelling, date format, and punctuation in the proof before production.
Keep the seller's answers in writing, along with the production lead time and whether mounting hardware is included. If you need to buy hardware separately, choose it for the actual wall and finished piece rather than relying on a spare hook.
Change the selection if the wall cannot support the mounting setup, the room conditions do not suit the wood, or personalized text will not remain readable at the chosen size. Those are easier to address before ordering than after delivery.
Browse personalized metal signs, rustic wall art, and farmhouse accents for living rooms, entryways, and porches at Farmhouse World. Use the checks above to match a piece to your wall, its weight, and the room conditions before ordering. For a name or date sign as a gift, confirm the preview and lead time so the finished piece arrives correct and on schedule.


