

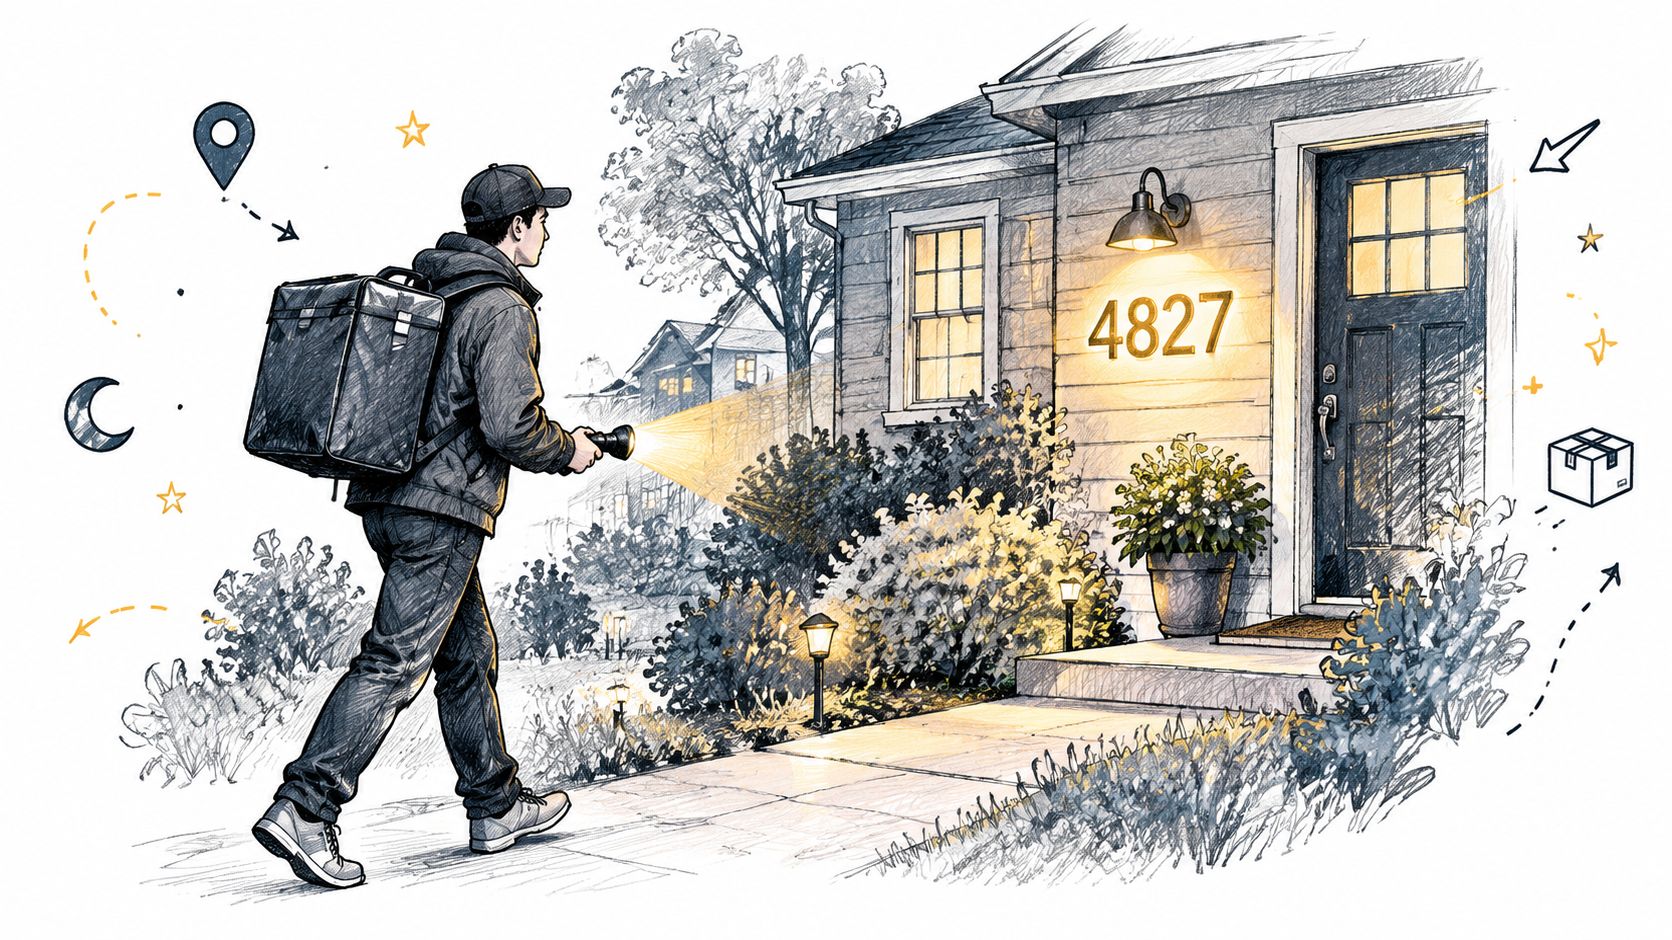
You're standing at the end of the driveway after sunset, waving a delivery driver toward the right house while a porch light throws glare across the entry. The number may look perfectly clear from the steps, but from a moving car it disappears behind shrubs, a parked vehicle, or the angle of the wall. That's the test for address signs that light up. They shouldn't merely glow attractively. They should let a visitor, courier, or first responder recognize the address quickly in the conditions where finding it matters most.
The useful buying question isn't “Which sign is brightest?” It's “Can the number be read in about 3 to 5 seconds, from roughly 50 feet, around 30 minutes after sunset?” That driver-focused standard shifts attention toward character height, contrast, placement, obstruction control, and dependable power. Independent visibility guidance supports that approach, especially for homes on dark roads or long rural drives.
Table of Contents
- Why Illuminated Address Signs Matter After Dark
- Choosing the Right Type of Lighted Address Sign
- Sizing Personalization and Finishes for Street Readability
- Placement Mounting and Wiring Made Simple
- Maintenance Local Codes and Visibility Checks
- Final Checklist Before You Buy and Install
Why Illuminated Address Signs Matter After Dark
A courier slows near your mailbox, checks the phone, and shines a flashlight across several front yards. A guest circles the same bend twice. During an urgent call, responders may have to locate a property while dealing with darkness, rain, snow, limited sightlines, and unfamiliar roads. In each situation, a decorative plaque that looks beautiful at close range can still fail its basic job if the number can't be recognized from the driver's approach.
That's why an illuminated address sign is best treated as wayfinding equipment with a design role, not just outdoor ornament. The light should reveal the numbers, while the plaque's size, contrast, position, and surrounding clearance do the rest.
A long tradition of illuminated addresses
The idea has deeper roots than modern LED products. Historical research traces illuminated addresses back to the tradition of medieval illuminated manuscripts, followed by ceremonial illuminated addresses that became a distinct presentation format in the nineteenth century. Those pieces were popular in Ireland from the 1880s to the 1920s and in Britain and Australia from the 1850s to the 1930s, with popularity peaking in the 1880s and 1890s, as documented in this historical study of illuminated signage.
Electric sign lighting developed alongside that presentation tradition. Gas-lit signs were documented as far back as 1840, an electric sign spectacular appeared in New York City in 1891, neon was demonstrated in 1910, and neon signs entered the United States in 1923. By the 1980s, LED and CAD/CAM technologies had joined the illuminated-sign domain. Today's backlit plaque is part of that longer move from hand-crafted display pieces to electrically lit public-facing communication.
Brightness isn't the whole answer
A very bright sign can create glare, wash out thin lettering, or become an unwelcome light source for neighbors. A softer halo around thick, contrasting numbers may perform better because it separates the characters from the background instead of flooding the entire entry with light.
Practical rule: Judge the sign from the road, not from the porch.
Before ordering, walk or drive to the likely viewing point after dark. Check whether the address appears quickly without a flashlight, whether branches interrupt the digits, and whether the light still works from the angle a driver sees. If you're coordinating several exterior fixtures, guidance on planning commercial lighting projects can also help you think through placement, controls, wiring routes, and the relationship between decorative and functional lighting.
Choosing the Right Type of Lighted Address Sign
Power choice determines more than installation effort. It affects how consistently the sign operates, where you can mount it, how much control you have over brightness, and whether the final look feels like a soft farmhouse accent or a clear roadside marker.
Modern illuminated address products commonly use LED modules, dusk-to-dawn sensors, and, in some designs, 12V DC transformers instead of direct AC wiring, as reflected in current product information and signage coverage from backlit LED sign specialists. The right architecture depends on the location rather than on a universal winner.
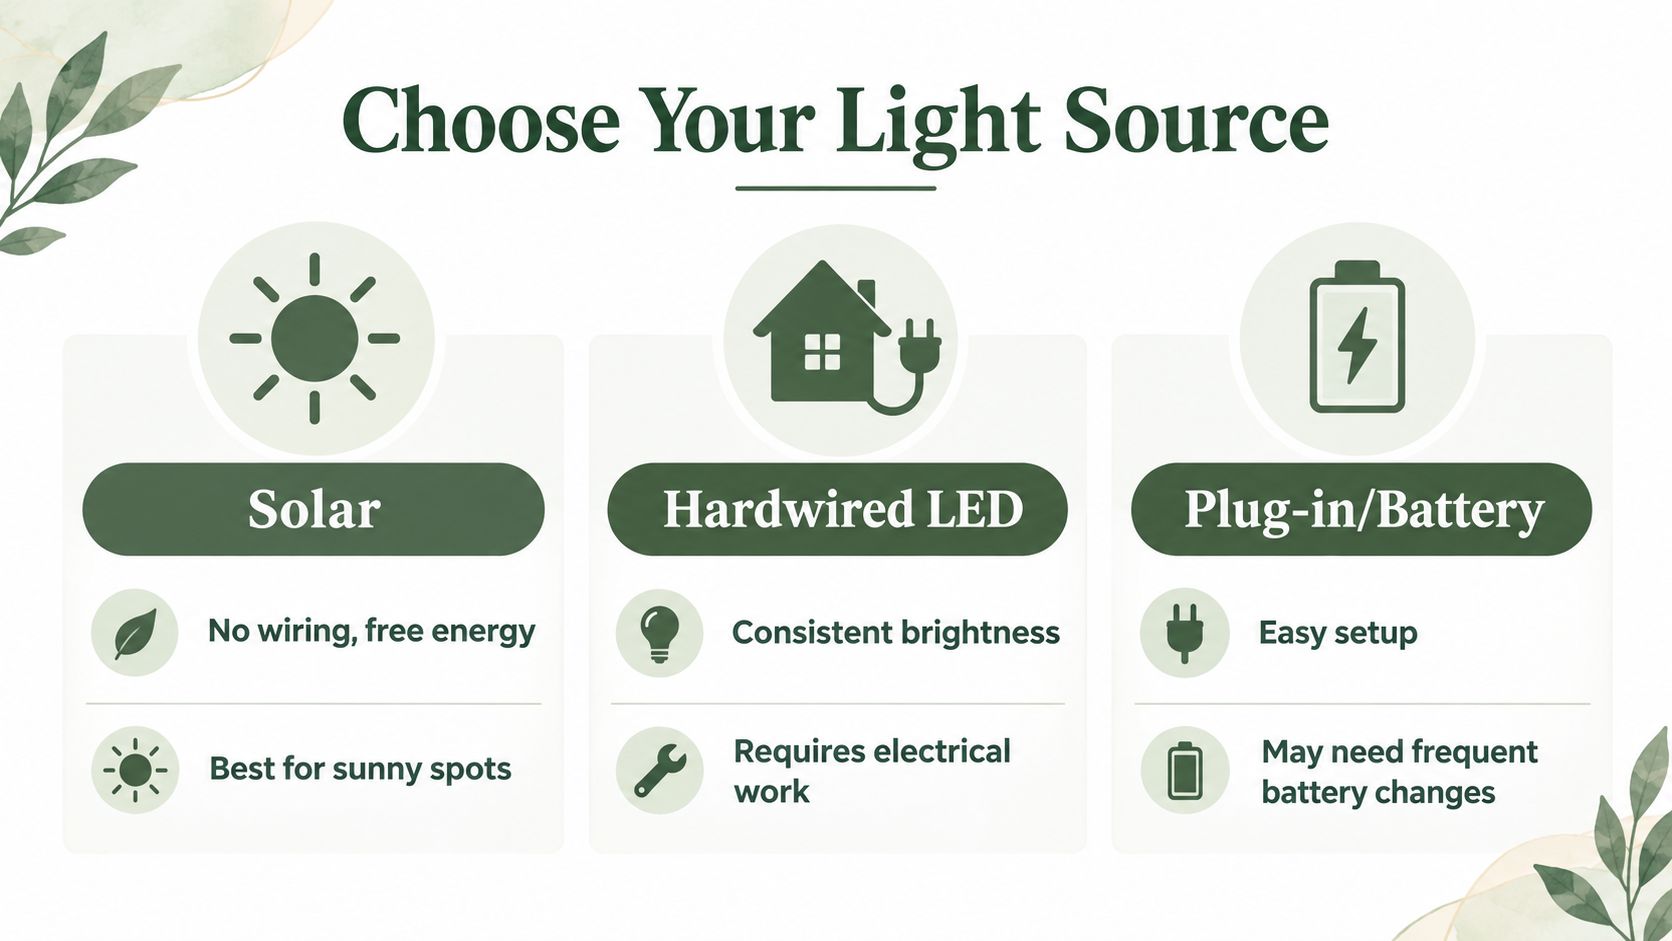
Solar signs
Solar is attractive when trenching or wiring would be disruptive. A small panel charges during daylight, and an automatic sensor can turn the LEDs on at dusk. This works well on a post or garden-facing entrance with reliable sun exposure.
The limitation is placement. A sign under a deep porch, beneath dense trees, or on a north-facing wall may not receive enough useful daylight for dependable nighttime operation. Solar also gives you less direct control over the power path, so confirm that the panel can face the open sky rather than choosing it only for the plaque's daytime appearance.
Hardwired low-voltage LED
A low-voltage LED sign offers the most predictable operation when a suitable power route already exists. A transformer can feed the sign from a protected location, while a timer, photocell, or dusk-to-dawn sensor manages operation. The wiring is less visually intrusive than a full-voltage outdoor run, but it still needs careful routing and weatherproof connections.
This is usually the stronger choice for a sign that must function as true wayfinding, especially where winter shade, tree cover, or inconsistent sun makes solar uncertain. It also gives you more flexibility to select a controlled halo or edge-lit effect rather than relying on maximum output.
Plug-in and battery options
Plug-in signs suit entries with a nearby outdoor receptacle. Battery-powered models can be convenient for renters or temporary installations, but battery access and replacement become part of routine ownership. Neither option should be hidden behind a decorative feature that makes service awkward.
| Type | Power and Control | Best For | Watch Out For |
|---|---|---|---|
| Solar | Panel-powered LEDs with automatic dusk operation | Sunny posts and open approaches | Shade, tree cover, and winter exposure can reduce reliability |
| Hardwired LED | Low-voltage transformer with sensor or timer control | Permanent signs that need consistent operation | Requires a safe wiring route and suitable electrical work |
| Plug-in or battery | Receptacle power or replaceable batteries | Simple setups and locations without permanent wiring | Cord visibility, outlet placement, or recurring battery maintenance |
A controlled, readable light usually beats an overpowered fixture that competes with the rest of the entry.
Use the following video as a visual reference for how different lighting approaches can affect the final appearance and installation decisions.
Before buying, check local lighting restrictions, the available daylight, the distance to power, and whether the sign is meant to be an accent or a dependable address marker. That short assessment prevents a common mistake, choosing a beautiful power system that can't support the location.
Sizing Personalization and Finishes for Street Readability
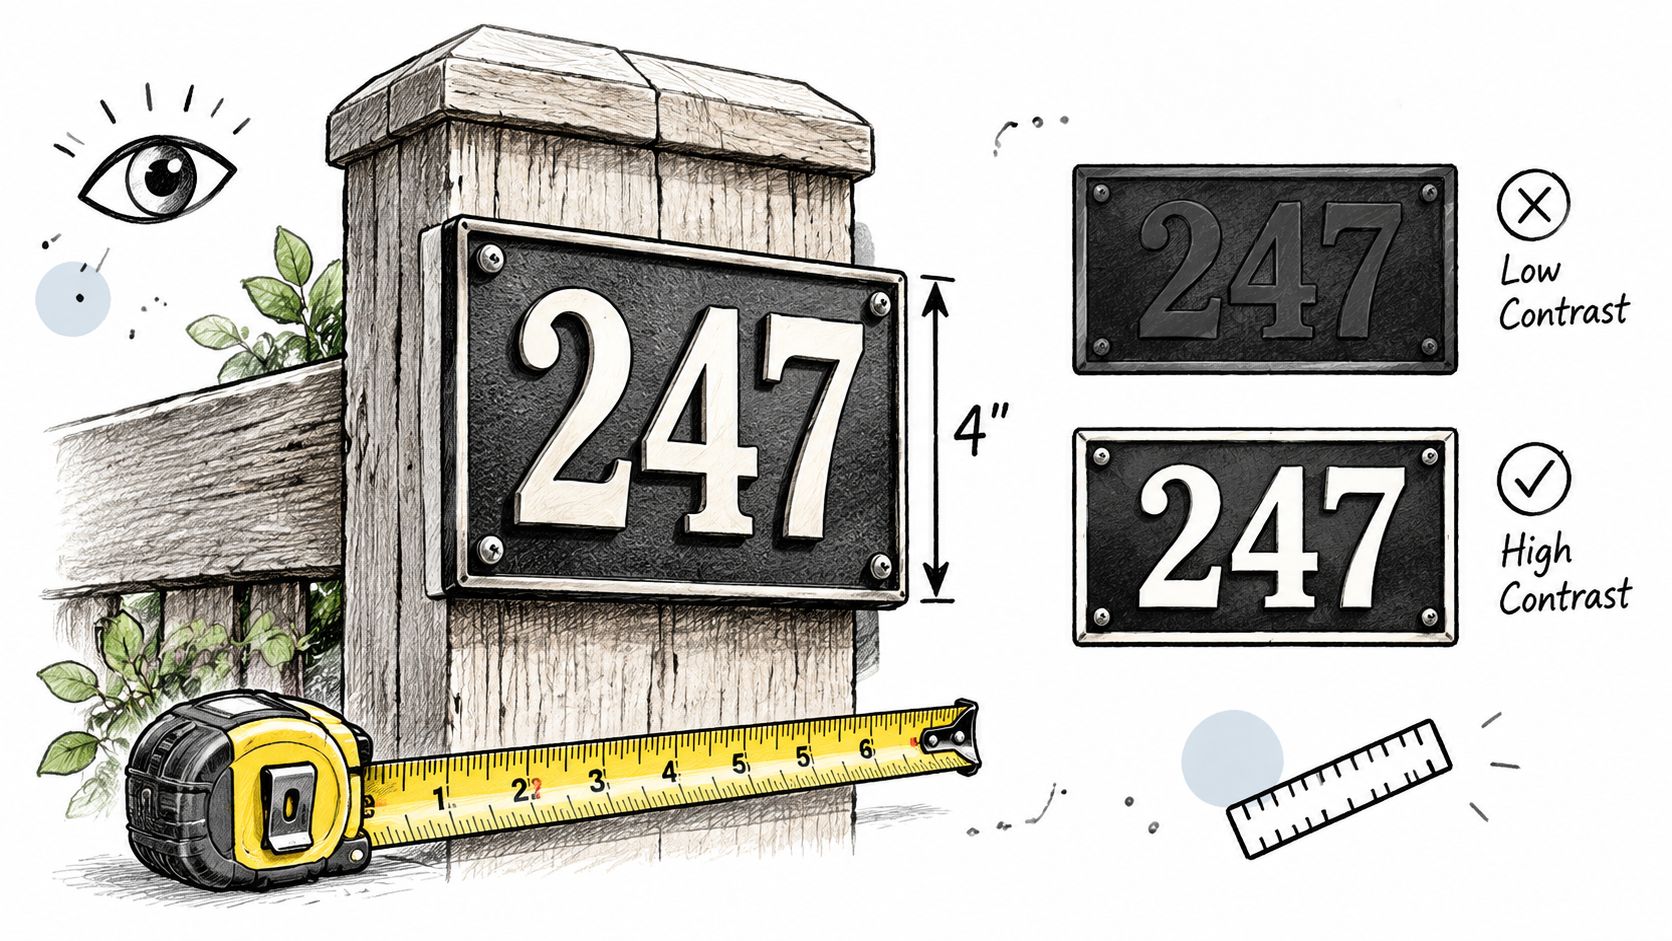
Start with the numbers, not the border. A plaque can have a lovely barn silhouette, a wide frame, and a carefully chosen finish, but narrow or undersized digits will still disappear at the road. Public-safety guidance gives a useful baseline: one emergency-management guideline calls for residential numbers at least 4 inches high, with a 1/2-inch stroke width, a contrasting background, and reflective treatment for nighttime visibility, as stated by Nahant emergency management.
Those dimensions are a starting point, not permission to ignore the setting. A home set far back from the road, reached by a curve, or approached at an angle may need a larger visual field and stronger contrast than a house close to the curb.
Build the face around the address
Use a simple reading hierarchy:
- Make the house number dominant. Names, farm graphics, and welcome wording can support the design, but they shouldn't compete with the digits.
- Choose thick, open lettering. Decorative scripts often contain delicate strokes and tight joins that look charming on a product page yet blur at a distance.
- Create clear contrast. Dark numbers on a pale, diffused face or light numbers against a darker plaque are easier to separate than similar tones.
- Preview the complete layout. Check every digit, spacing decision, and line break before production. A number that wraps awkwardly can become a functional problem, not just a styling flaw.
A farmhouse sign can still feel warm and personal. The rustic character should come from the silhouette, coating, border, or supporting motif, while the address remains visually decisive. For ideas on balancing a country look with durable metal construction, review this guide to farmhouse metal signs.
Select finishes for the viewing conditions
Powder-coated metal can provide a strong exterior surface, but color alone doesn't guarantee readability. A glossy finish may reflect headlights or porch lighting directly into the driver's view. Acrylic diffusion can soften LED points and spread light more evenly, while a matte or low-glare face may preserve the shape of the digits in fog, rain, or glare.
Think about the wall behind the plaque too. A black sign against dark siding needs a different treatment from a bronze sign on pale stone. If the surrounding architecture is busy, simplify the sign face. If the background is plain, a framed farmhouse motif can add personality without stealing attention from the address.
Finally, check the whole sign from the road in daylight and darkness. If you can read the name but hesitate over the number, the personalization is taking up space that the address needs.
Placement Mounting and Wiring Made Simple
A sign can have plenty of light and still fail at the roadside. Before drilling, stand where a driver approaches and check whether the address can be recognized within 3 to 5 seconds from about 50 feet after sunset. Test both directions when the road allows it, then repeat the view with parked vehicles, an open gate, shrubs, seasonal decorations, and likely snow accumulation in place.
The mounting point controls more than appearance. Near the front door, a plaque may sit behind a porch column or deep shadow. A mailbox or freestanding post can give the digits a clearer angle, especially along a long drive. Keep the address close to the entrance and face it toward approaching traffic. Illumination improves recognition, but it does not replace reflectorization or other local requirements.
Test the location before committing
Tape a paper mock-up to the proposed wall or temporarily hold the plaque in position. View it in daylight, at dusk, and in full darkness from the road. Check whether the digits remain distinct rather than judging brightness alone. Contrast, viewing angle, sign size, and background often matter more than a stronger lamp.
For wall mounting, match the fastener to the surface:
- Wood siding: Find solid backing where possible, pre-drill to reduce splitting, and keep the cable route tidy.
- Brick or masonry: Use masonry-rated anchors and avoid fragile mortar edges.
- Posts and mailboxes: Confirm that the support is stable, then orient the sign toward the approach instead of squarely toward the house.
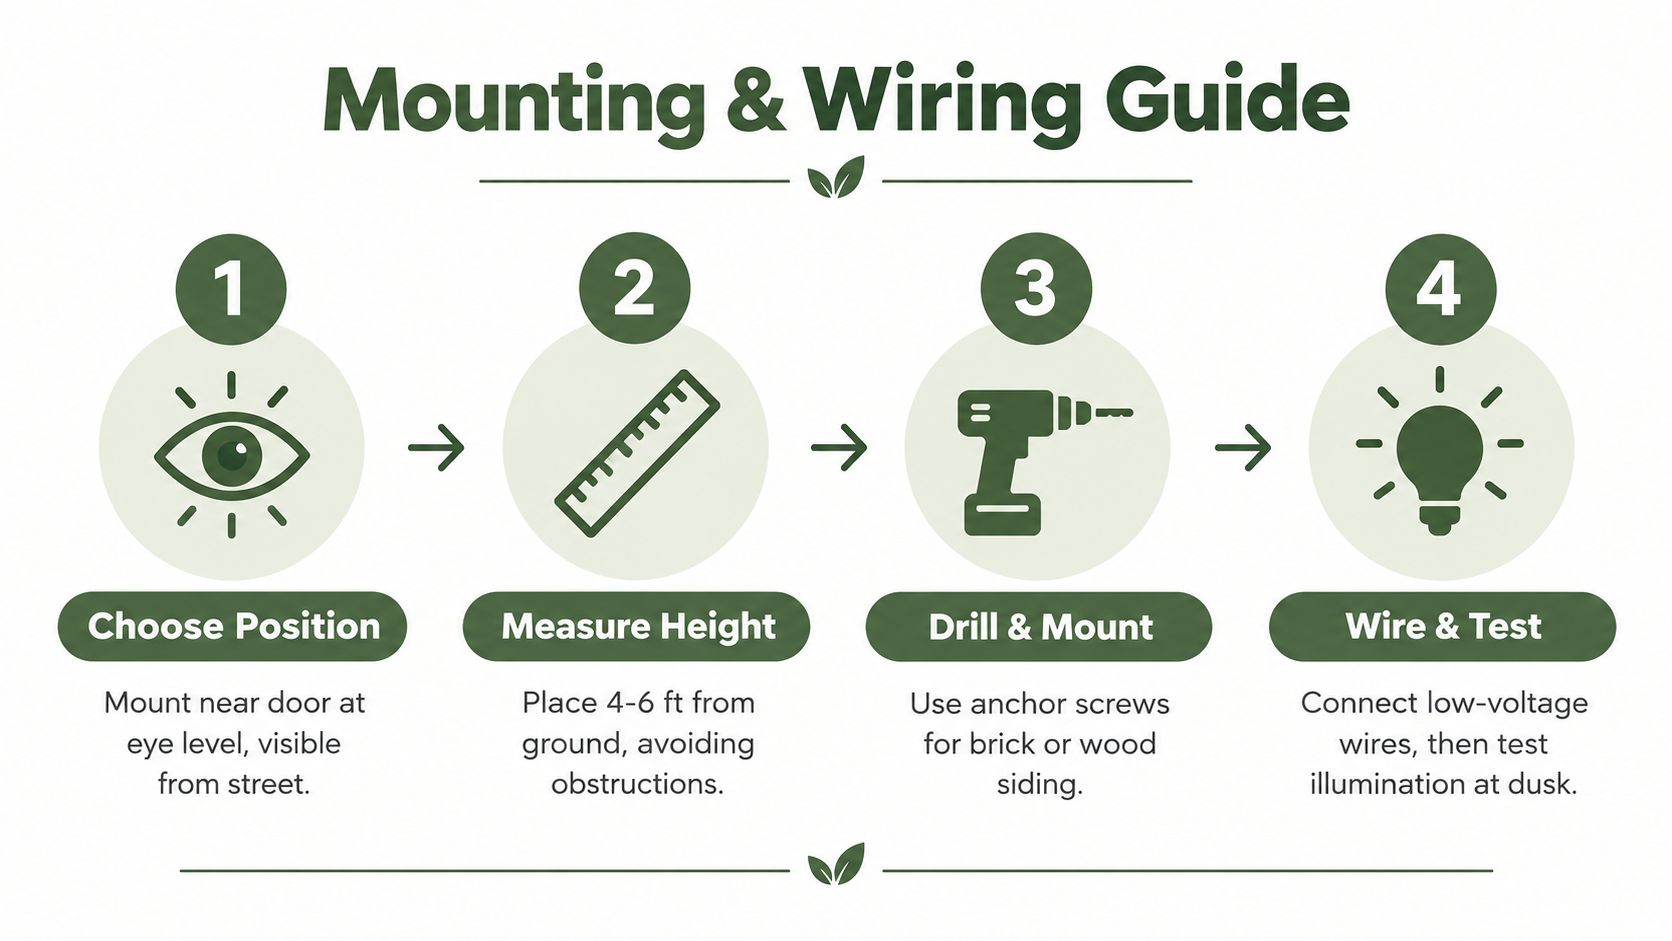
Set the height for a clear sightline and practical service access. A low plaque can disappear behind plant growth or snow. An overly high sign can catch glare and become awkward to repair. Follow any locally prescribed height, then confirm from the roadway that the digits remain unobstructed.
Keep low-voltage wiring protected
Many backlit signs use 12V DC, waterproof LED modules or strips, outdoor sealing around IP65, and aluminum or stainless-steel bodies. Some include acrylic diffusion. Product specifications may list power draw around 0.45 W per hour and module lifetimes commonly marketed at 50,000 hours. Treat these as product-specific figures, not guarantees for every fixture. Verify the actual voltage, load, sealing, and transformer requirements in the illuminated LED address sign specifications.
Use a transformer that matches the sign's voltage and load. A DC-only fixture must not connect directly to AC wiring. An exterior-rated body also does not make an exposed cable entry safe. Seal the entry, use weatherproof connectors, create a drip path where appropriate, and keep connections above standing water.
A practical installation sequence is:
- Mark the viewing position. Face the number toward the driver's approach and check seasonal obstructions.
- Mock up the height. Test daylight, dusk, and darkness before drilling.
- Install suitable anchors. Match fasteners to siding, brick, stone, or post material.
- Route and seal the cable. Protect the low-voltage run and leave access for future service.
- Test from the roadway. Check three-to-five-second recognition, glare, sensor response, and both approach directions.
For unfamiliar electrical work, follow the practical tips from Access Electrical and Lighting and local requirements instead of improvising a connection. Complete the night test before tightening decorative covers or burying the cable route.
Maintenance Local Codes and Visibility Checks
An address sign can become hard to read long before it appears damaged. A shrub grows across the sightline, a snowbank rises in front of the post, a connector loosens, or dust on the diffuser turns an even glow into a dull patch. Maintenance protects the short recognition window a driver has after dark, not just the sign's appearance.
Check local requirements separately from product specifications. Depending on the property and access road, rules may address reflective numbers, character contrast, mounting position, or visibility from both travel directions. Keep the plaque clear of vegetation, snow, parked vehicles, gates, and seasonal decorations. If local emergency-access guidance applies to your property, confirm its required size and viewing distance before treating the installation as complete.
Use a seasonal inspection routine
Walk the approach from the roadway instead of checking only from the front steps. Clean the diffuser with a soft cloth and suitable mild cleaner, trim branches, remove leaves, and inspect the area after major snow or changes.
Use this routine during upkeep:
- Visibility: Check each practical driving direction and confirm the digits remain the dominant visual element.
- Obstructions: Clear shrubs, snow piles, parked vehicles, gates, and open mailboxes.
- Light output: Look for dark modules, uneven illumination, flicker, or a sensor that starts too late.
- Connections: Inspect cable entries and connectors for cracking, corrosion, or water intrusion.
- Mounting: Confirm the plaque has not shifted, loosened, or tilted away from approaching traffic.
Metal needs early attention in damp, coastal, or heavily weathered locations. Follow the manufacturer's finish-care instructions, remove surface contamination, and address corrosion before exposed metal spreads. The guidance on protecting metal from rust offers useful maintenance principles for metal plaques.
Repeat the driver test after seasonal changes
Retest after trimming, snowfall, repainting, nearby construction, or a change in outdoor lighting. Make the check from the road with another person at the property, and record whether the number is recognized without prompting. The goal remains quick recognition at the established approach distance, but this check measures whether current conditions have reduced readability. If the driver must slow sharply, use a flashlight, or search for a second plaque, improve placement or contrast before increasing brightness.
A dark or flickering sign may have a failed module, sensor fault, damaged connector, or power issue. Do not open a sealed outdoor fixture while energized. For troubleshooting context and sign lighting repair costs and safety, use a qualified electrical professional when the fault is not plainly accessible and safe to correct.
Final Checklist Before You Buy and Install
A reliable choice starts with the approach, not the catalog photo. Check how drivers reach the property after sunset, then match the sign's construction and power source to those conditions.
- Type: Use solar where the panel receives dependable sun. Choose low-voltage LED for steady permanent operation. Plug-in or battery power suits locations where simple access matters more than concealed wiring.
- Size: Confirm character height and stroke width against local rules. Then judge the viewing distance, road curve, and angle from which drivers will read the plaque.
- Finish: Set contrast before ornament. Farmhouse details should frame the address, not compete with the digits.
- Placement: Check both approaches, the mailbox or post, seasonal vegetation, parked cars, snow, gates, and porch glare.
- Power: Verify voltage, transformer compatibility, sensor position, cable sealing, and local lighting requirements.
Run the night test before finalizing hardware. From about 50 feet, roughly 30 minutes after sunset, a driver should recognize the number in about 3 to 5 seconds. If the digits require a second look, a brighter lamp alone may not solve the problem. Increase size, improve contrast, adjust the mounting angle, or move the plaque into a cleaner sightline.
A personalized metal sign suits the entry when the address remains dominant and the farmhouse styling supports legibility. For a comparison between a decorative wall plaque and a functional post-mounted marker, review this guide to an address sign and post.
Before drilling, photograph the tested position and confirm that the cable route, service access, and mounting surface still work. Visit Farmhouse World to browse personalized metal address and farm-style signs in multiple sizes, colors, and design treatments. Select the plaque that fits the home, then confirm street readability after sunset before tightening the final hardware.


